


A Guide to Posting Nurse & Staff Jobs on Medverse for Hospital Admin Teams
Medverse is a healthcare recruiting platform where hospitals, clinics, and medical-related companies can hire medical staff directly and connect with applicants through 1:1 chat. This guide walks you through everything in order — from creating a hospital account, to publishing a job posting, to what applicants see when they view it.
If you handle recruiting at a hospital admin office, you should be able to follow this from the top and finish posting a job without any extra help.
The whole process has three main stages:
1. Sign up for a hospital account
2. Fill in the business & hospital profile
3. Post and manage a job listing
Step 1. Sign up for a hospital account
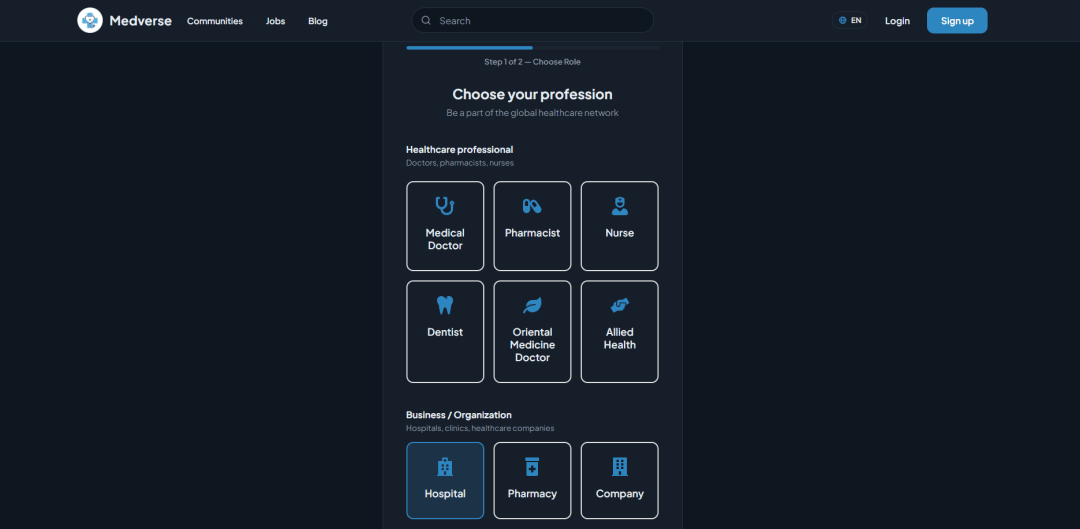
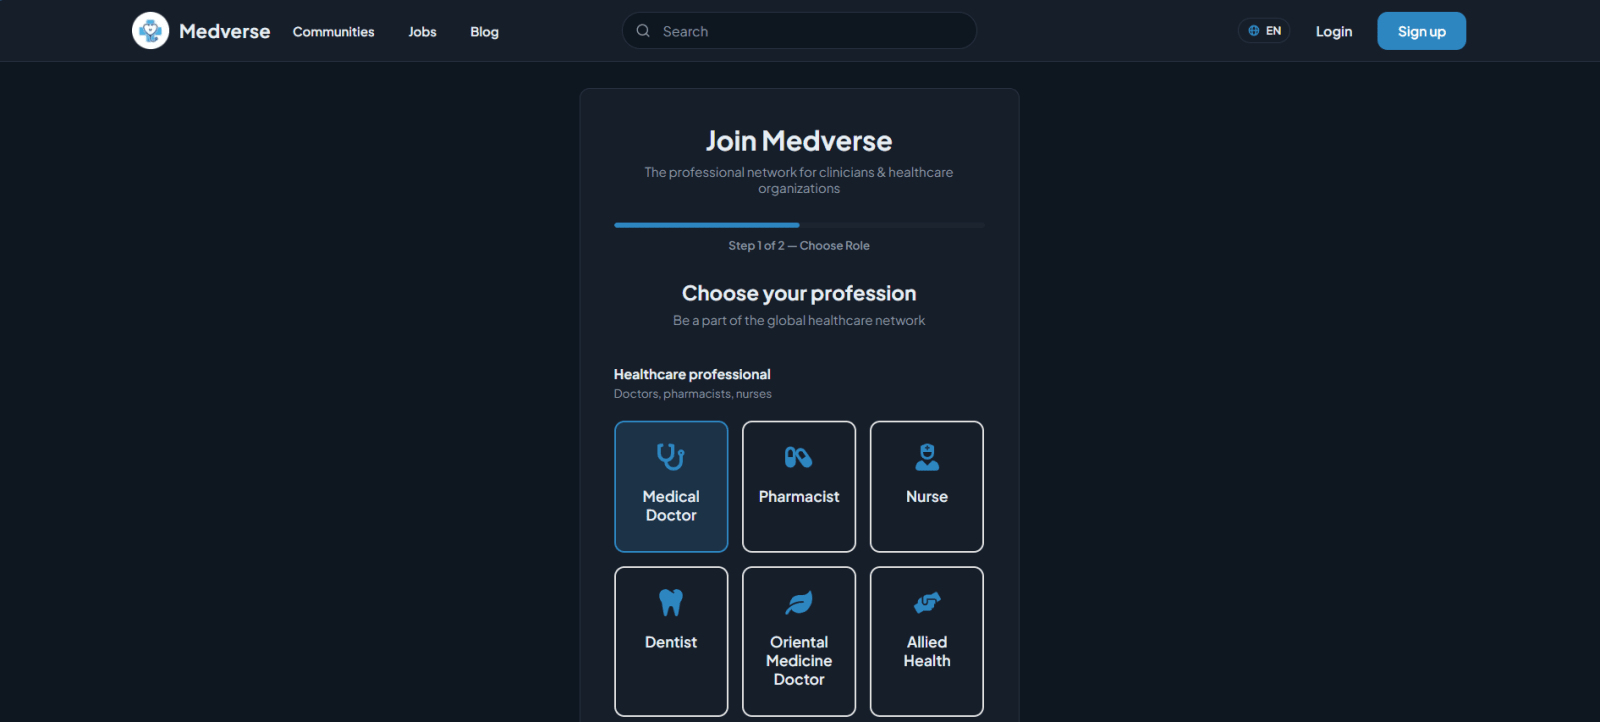
Choose your member type
Click the Sign up button at the top right of Medverse, and you'll see a screen for choosing your member type. There are two main groups:
- Medical professional — individuals such as doctors, dentists, oriental-medicine doctors, and other health professionals
- Business member — hospitals, pharmacies, and medical-related companies
As a hospital that will be hiring, select Hospital under Business member, then click Continue.
You may see a note near the bottom of this screen saying that verification with a medical license or business registration certificate is required after signup. During the current beta, you do not need to complete business-document verification. You can proceed without preparing any documents and still post a job with no problem.
Enter your basic information
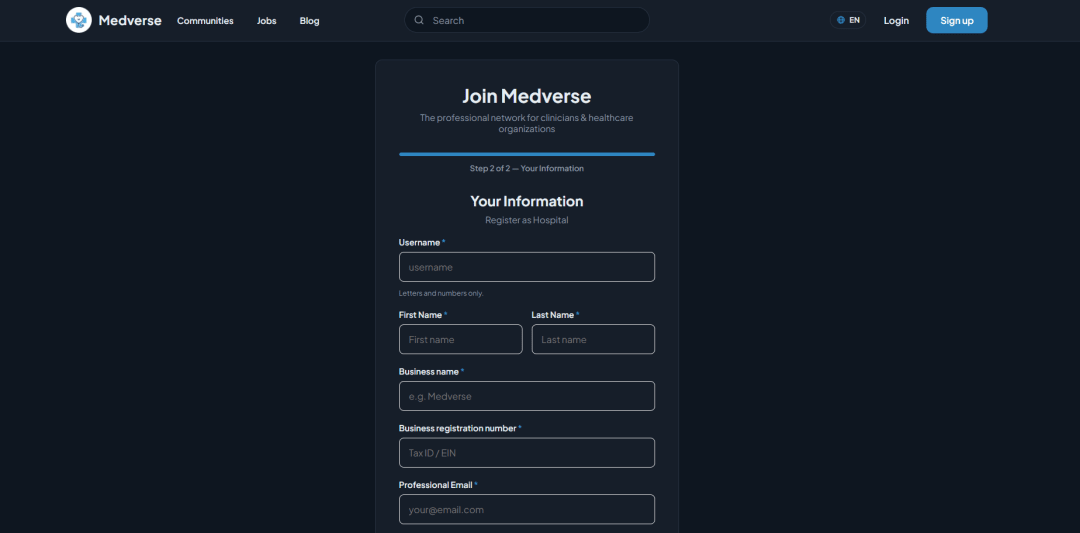
After selecting Hospital, you'll move on to the information form. Fill in the following:
- Username — letters and numbers only (e.g., examplehospital)
- First name / Last name — the contact person's name
- Business name — the hospital's name
- Business registration number
- Work email
- Password / Confirm password
Fill in everything, agree to the Terms of Service and Privacy Policy, then click Create account.
Set your country and language
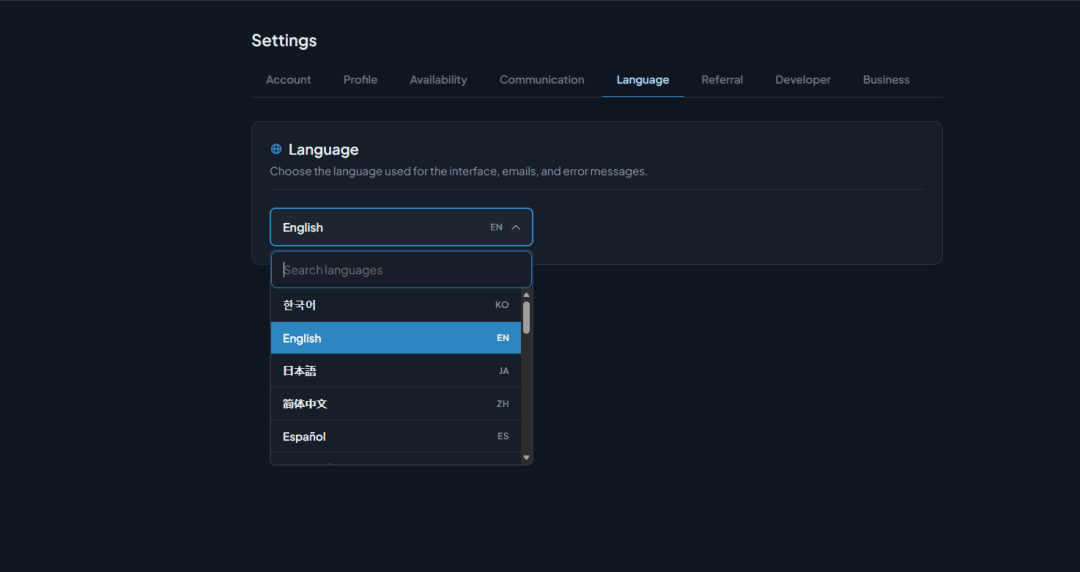
After creating the account, set your country and language. You can search and select a country (e.g., South Korea), and search and add the language(s) you use. Once this is done, signup is complete.
Step 2. Fill in the business & hospital profile
After logging in, you'll see the home dashboard. Click the profile icon at the top right to reach Profile / Subscription / Billing / Earnings / Invite a friend / Settings.
Filling in these two profiles helps build trust with applicants.
Business profile
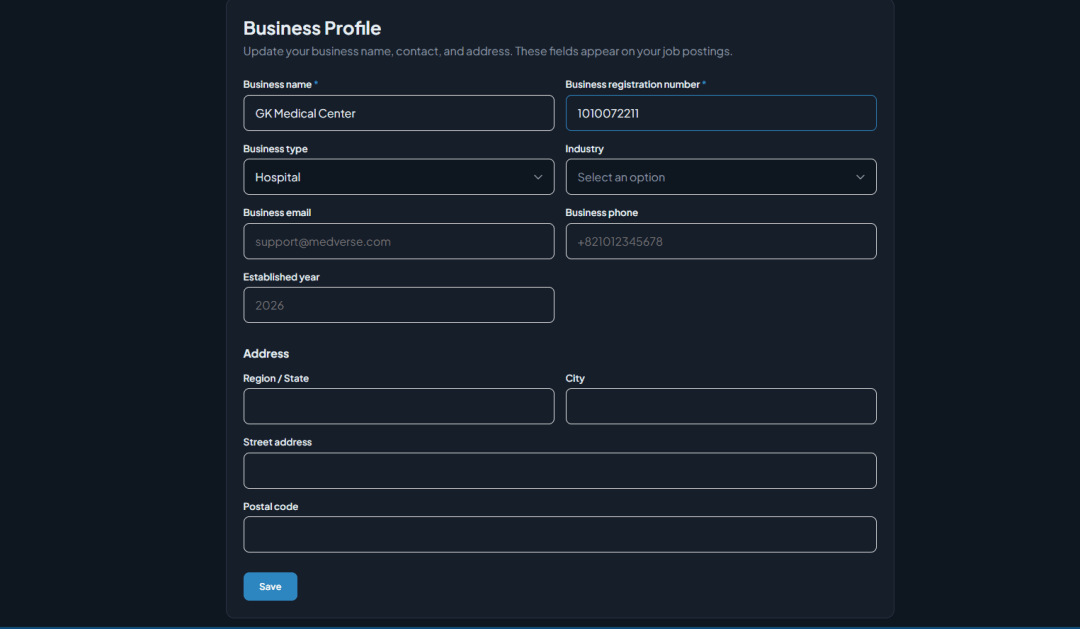
Fill this in under Settings → Business. This information is shown alongside your job postings, so please enter it accurately.
- Business name, business registration number
- Business type (Hospital), industry category
- Business email, business phone number
- Year established
- Address — province/state, city/district, detailed address, postal code
Click Save when done.
Hospital profile
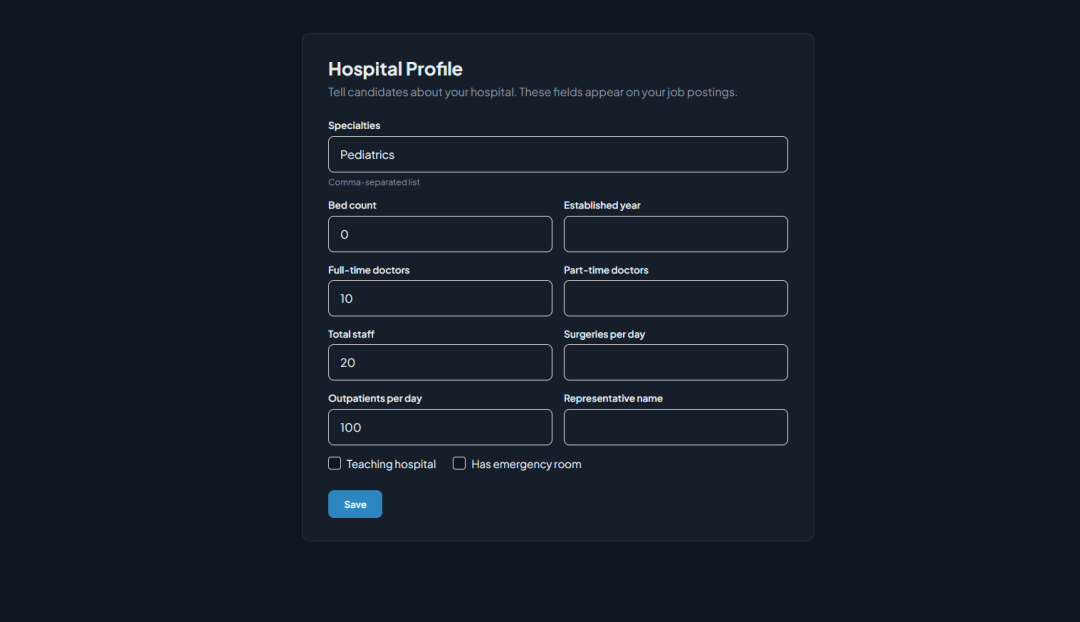
On the profile screen, click Complete profile in the Hospital info section. There you can enter details such as departments, number of beds, and medical staff. This information gives applicants an at-a-glance view of your hospital.
From the same screen you can also access Edit profile / Edit business info / Edit hospital info and the weekly hours settings.
Step 3. Post a job listing
Click Post a job in the left menu (or Create your first posting / New posting on the management screen) to start. Posting is done through a 3-step wizard.
Wizard step 1 — Main
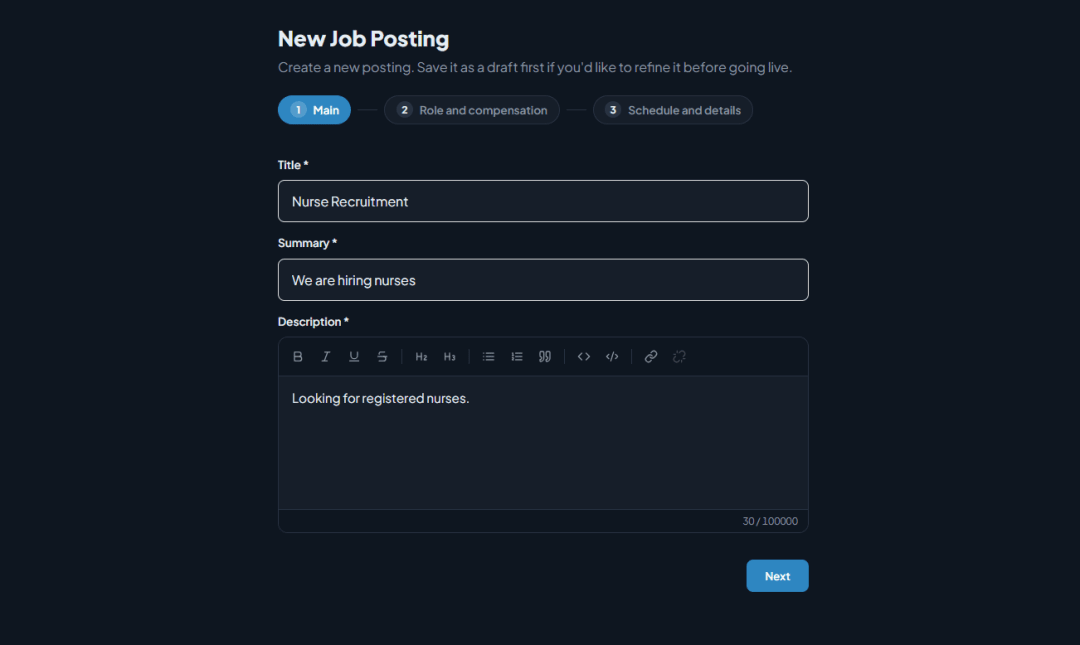
- Job title (required) — e.g., Nurse Recruitment
- Summary — e.g., We are hiring nurses
- Description — write the details in the editor, which supports formatting like bold, italics, headings, and lists
Wizard step 2 — Role & compensation
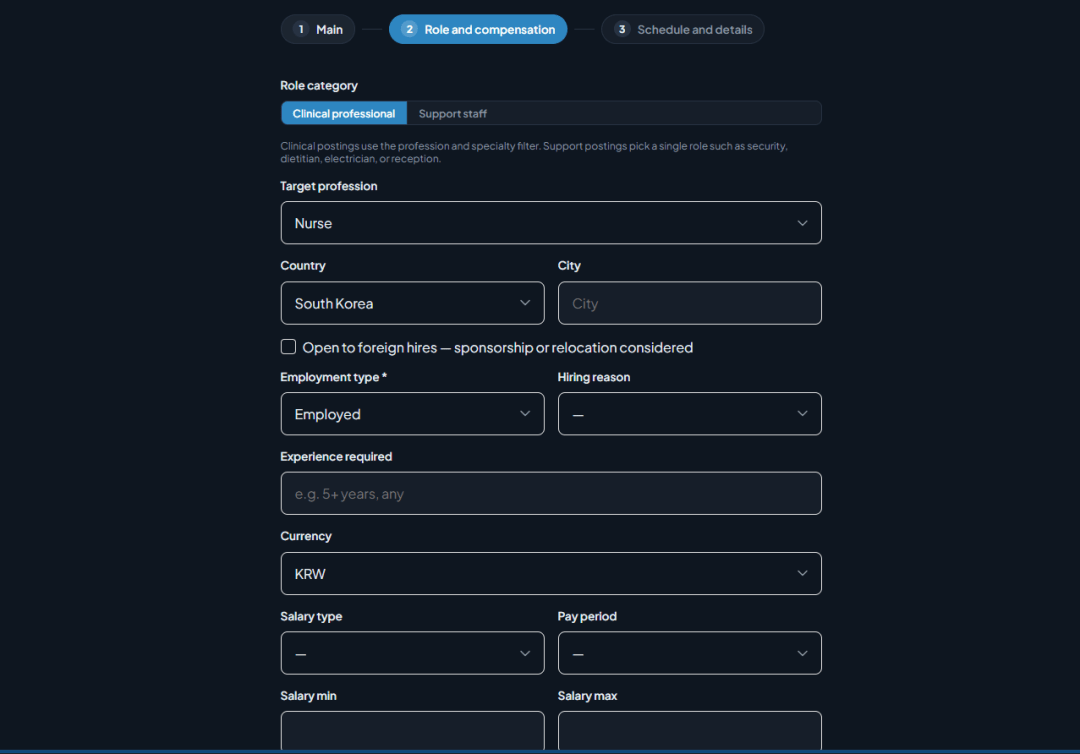
- Job category — choose Medical professional or Support staff
- Medical professional roles are searchable by job group and department.
- Support staff (e.g., security, dietitian, electrician, reception) are registered by selecting a single job type.
- Recruiting role — e.g., Nurse
- Country / City — e.g., South Korea
- Allow foreign hires — check whether sponsorship or relocation support is available
- Employment type (required) — e.g., Full-time / Reason for hiring — e.g., Headcount increase
- Required experience — e.g., None required
- Pay type / Currency / Minimum salary / Maximum salary / Negotiable
Click Next when finished.
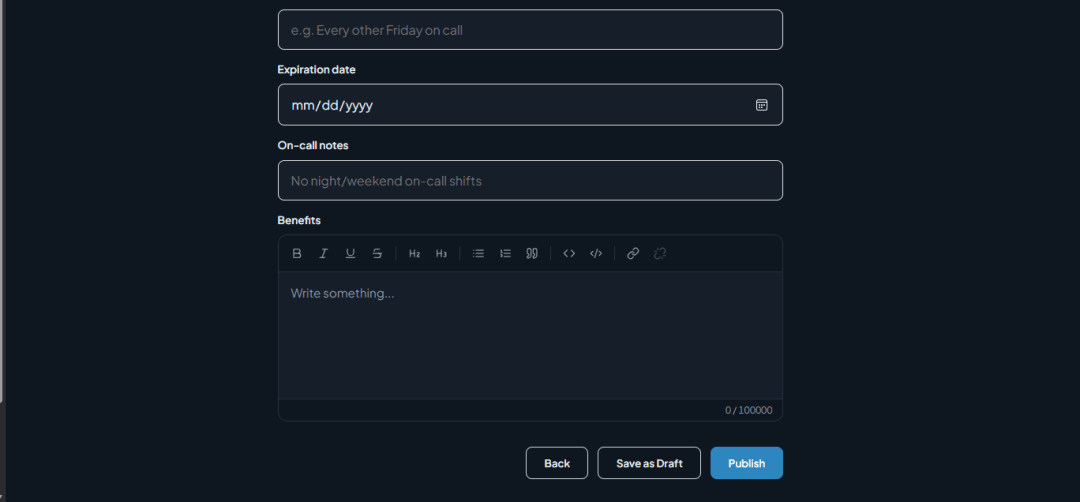
Wizard step 3 — Schedule & details
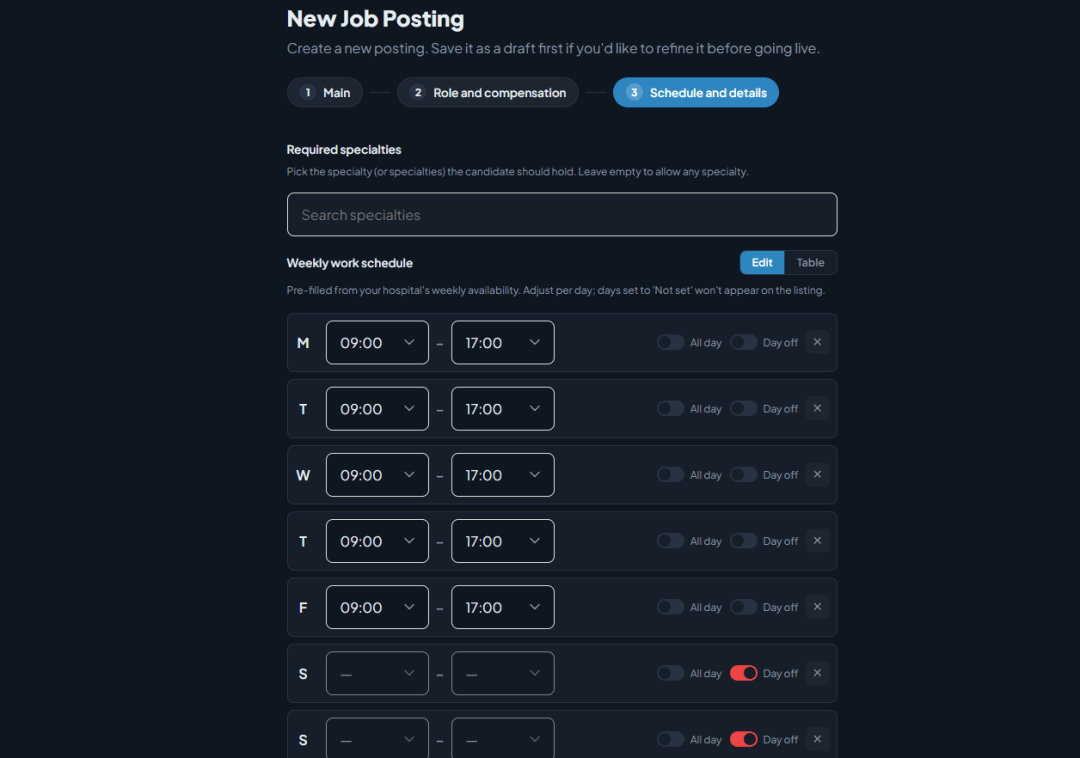
- Recruiting departments — select the departments required of applicants (e.g., General nursing, Ward nursing). If you select none, it's treated as "No specific department."
- Weekly working hours — the hospital's hours are pre-filled automatically, and you can adjust them per day. ("Unset" days are not shown on the posting.)
- Deadline — e.g., 28/05/2026
- On-call note — e.g., No night on-call
- Benefits — write freely in the editor
When done, click Publish to post immediately, or Save draft to store it and publish later.
Step 4. Manage your postings
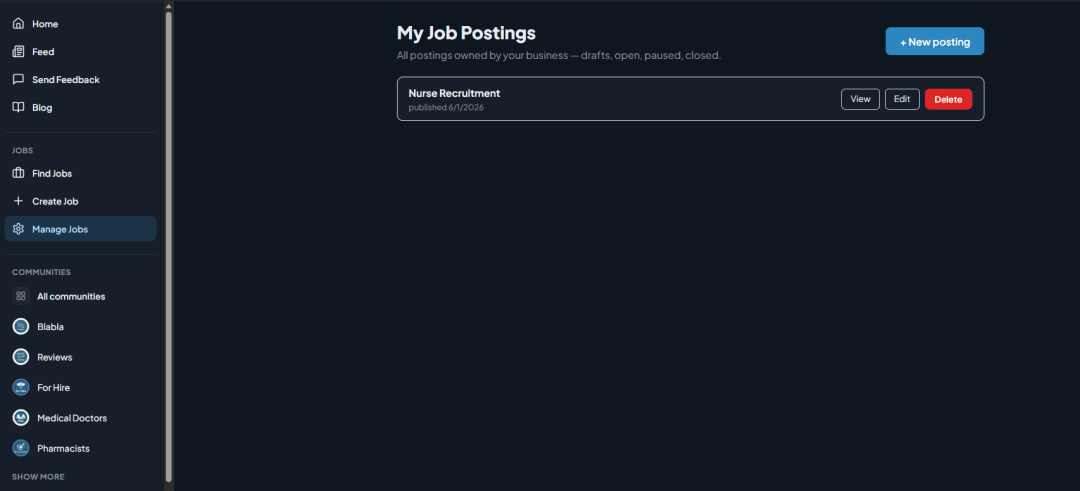
Under Manage postings in the left menu, you can see all your listings in one place — drafts, published, paused, and closed.
Each posting shows its status (e.g., Published), publish date, view count, and number of inquiries, and you can manage it with the View / Edit / Delete buttons.
For reference: this is what applicants see
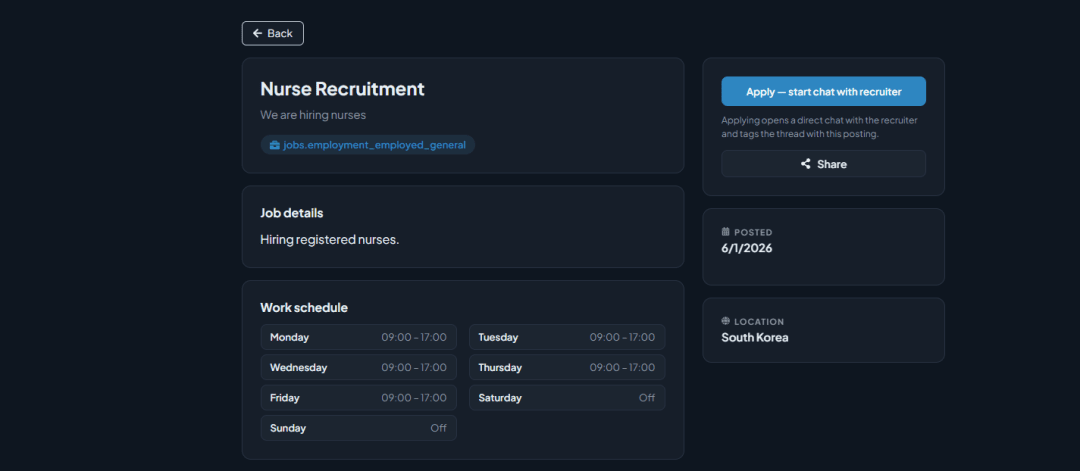
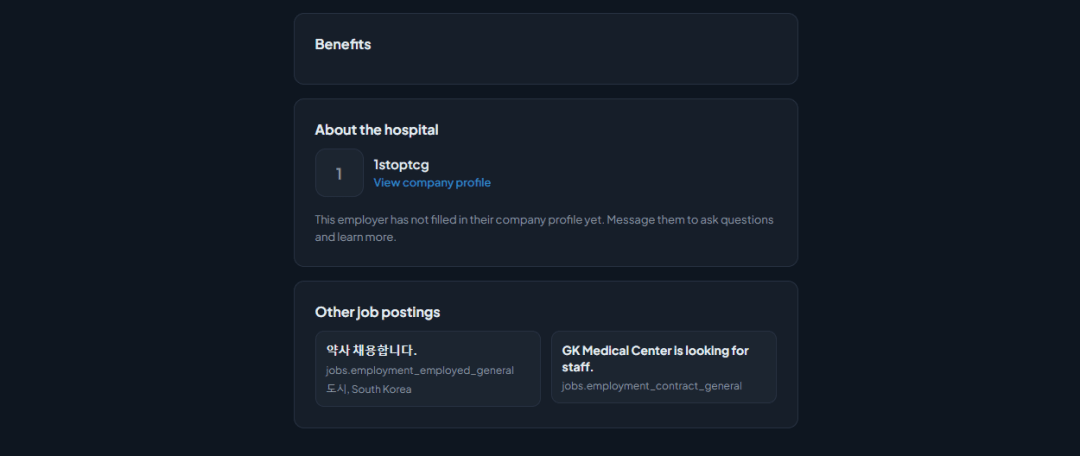
Once published, applicants see the following on the posting detail page:
- Job title and summary, employment type, reason for hiring
- Full description, recruiting departments, work schedule
- Publish date, experience, salary, work location
- On-call note, benefits, company introduction, similar jobs
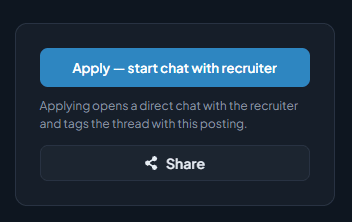
When an applicant clicks Apply — start chat with the recruiter, a 1:1 chat begins with the recruiter, and the posting is tagged in the conversation. In other words, communication starts right away through chat, with no separate résumé-submission system.
If you haven't filled in the business/hospital profile, the company section shows "This company hasn't created a profile yet." That's why we recommend completing the profile in Step 2 first.
Quick summary
1. Sign up — Business member > Hospital → enter basic info → set country & language (business-document verification is not required during beta)
2. Profile — Settings > Business profile + Hospital info profile
3. Post a job — 3 steps (Main → Role & compensation → Schedule & details) → Publish
4. Manage — check view counts & inquiries and edit under Manage postings
When an inquiry comes in, just respond through chat. If anything is unclear, go back to the relevant step and review it at your own pace.
다른 글
Medverse, All in One: Sign Up, List and Promote Your Products and Services, and Apply as a Partner
This guide walks you through the entire journey — joining Medverse as a partner, registering your products and services, and getting them in front of verifie...
메디버스 가입부터 상품, 서비스 등록·홍보 그리고 제휴 파트너 신청까지 한 번에
이 글은 회원가입부터 전화번호와 사업자 인증, 회사 정보 입력, 서비스 등록, 커뮤니티 피드와 채팅방 홍보, 그리고 파트너스 등재까지 하나의 흐름으로 이어집니다. 여기서는 예시로 세무사가 가입하는 과정을 보여드립니다. 세무사는 세무와 절세 서비스를, 노무사는 노무 서비스를, 의료...
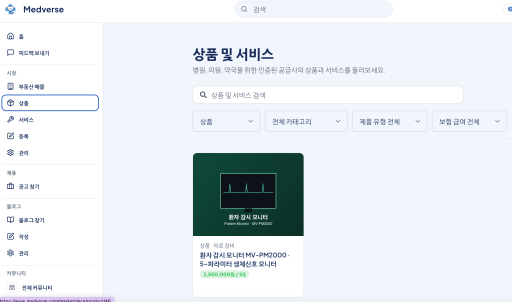
제약회사·약 도매상 필독! 의사·약사한테 직접 제품 홍보하는 법 — 메디버스 의약품 등록 완전 가이드 💊
안녕하세요! 오늘은 제약회사, 의약품 도매상, 건강기능식품 회사처럼 병원·의원·약국에 제품을 홍보하고 싶은 분들한테 딱 맞는 정보 가져왔어요. MR이 병원 일일이 방문하거나, 학회 광고 비용 쓰지 않아도 검증된 의사·약사한테 직접 제품 정보를 전달하는 방법이 있거든요. 바로 의...
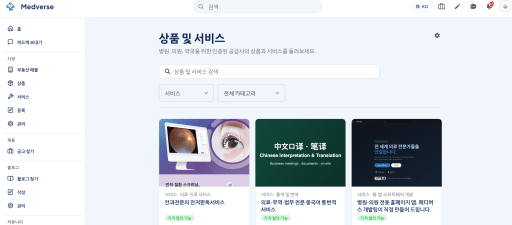
의료기기·서비스 홍보하는 법 — 메디버스 서비스 등록 가이드
안녕하세요! 오늘은 의료기기, 헬스케어 서비스, 의료 소프트웨어 등을 병원·의원·약국에 홍보하고 싶으신 분들한테 딱 맞는 정보 가져왔어요. 영업사원이 병원 일일이 방문하거나, 학회 광고 비용 쓰지 않아도 검증된 의료인한테 직접 닿는 방법이 있거든요. 바로 의료인 전용 플랫폼 메...
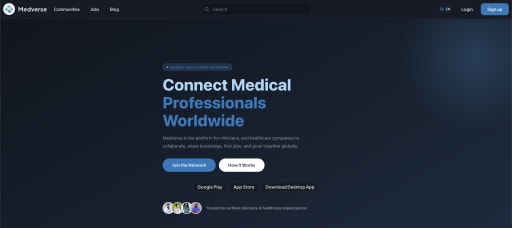
Medverse — the platform for every healthcare professional. Start free today at medverse.com
Why Medverse — Healthcare Isn't Done by Clinicians Alone ## Why We Started Medverse What we set out to build is simple: one place where healthcare professi...
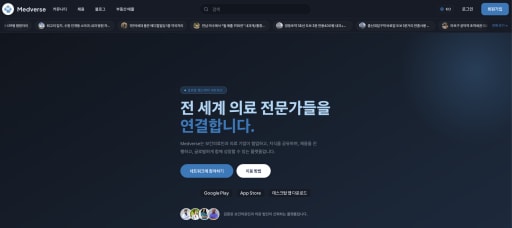
모든 보건의료인을 위한 플랫폼, 메디버스 - 지금 medverse.com에서 무료로 시작하세요
왜 메디버스인가 — 의료는 보건의료인 혼자 하는 일이 아닙니다 ## 메디버스를 시작한 이유 저희가 만들고 싶었던 건 단순합니다. 보건의료인, 의료법인과 기관, 그리고 그들을 둘러싼 사람들 — 공인중개사부터 제약회사, 개발자까지 — 이 한자리에서 서로 소통하는 공간. 그런데 막...